
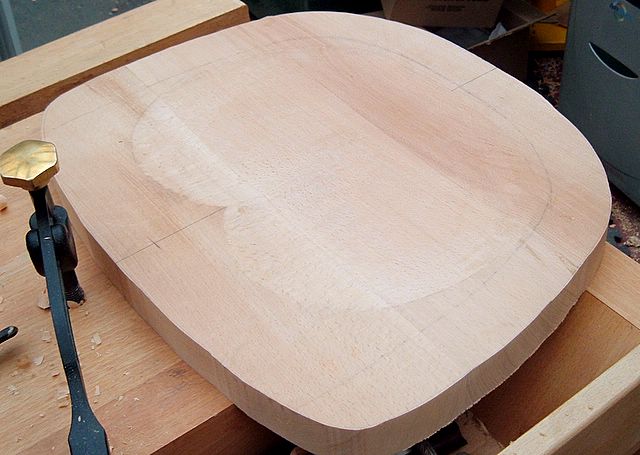
 So on Monday it was time to cut the shape of the seat. A decision had to made; the John Brown method of cutting out the whole shape? Or the Drew Langsner way of just cutting out the front at this stage. I decided to go with the primary source and do a JB. Someone remind me not to leave it so long before fitting a sharp blade on the bandsaw next time, would you? Knife throught butter instead of rubber chicken through granite is a big improvement.
 Spokeshave to fair up the curve; the Veritas proved to be the most effective shave for this job. And the improved handles are worth their weight in gold IMO. The round ones would have given me no end of grief I reckon. The drawknife was a non-started from the get-go. That beech is just so darn hard...
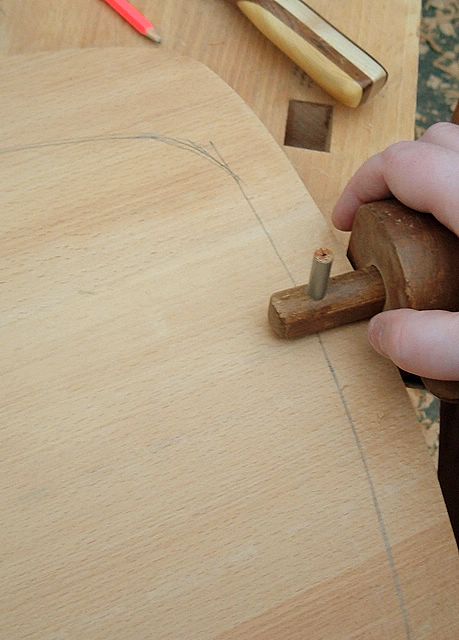 Then to lighten the look of the seat, a chamfer underneath. I had to consult DL for this info, and went with 1" in at the sides and back and 2" in at the front. 5/8" deep, or was it 3/8"...? Whatever it said anyway. If you're insane enough to try this for yourself you really want to buy the book anyway! Naturally you all know why you want to use a pencil gauge rather than a marking, cutting or wheel gauge to mark up chamfers. It's a mistake you only make once at any rate...
 Dunno why, the ways of cutting tools are hard to fathom sometimes, but my apple shave made easily the best fist of hogging off the chamfer in reasonably quick time. Again, the drawknife was just a struggle and not worth the effort. In Kingshott terms, the spokeshave was taking off "shavings thick as a soldier's belt" - possible only a dress belt, but reasonably substantial anyway...
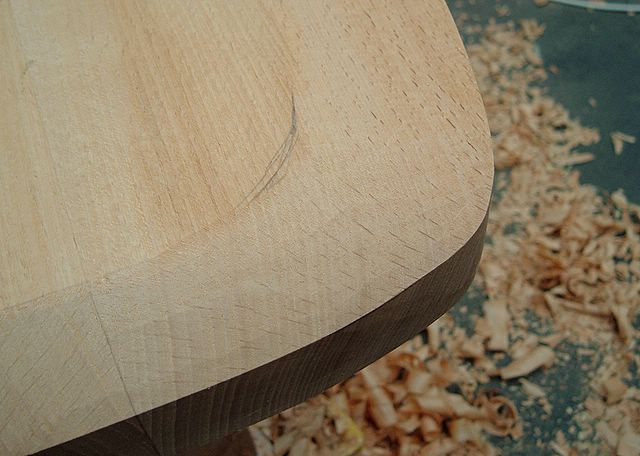 The transition from the 1" to 2" chamfer width may need a little tweaking still, but the Veritas again proved to be able to do a good job and the more-or-less-finished chamfer pleases me at any rate. (Which is rather a JB thing to say - better read someone else for a bit maybe...) But it does look more seat-like, which is rather exciting.
 However, whether it will prove to be a mistake cutting the seat shape at this stage, well time will tell. The next stage is the inshave, or in my case more gouge and travisher, to further shape the seat. But that's to come. I haven't been in the workshop for nearly tree dace and the momentum has dropped off more than somewhat.
Oh, and I still ache...
"Naturally you all know why you want to use a pencil gauge rather than a marking, cutting or wheel gauge to mark up chamfers. It's a mistake you only make once at any rate..."
ReplyDeleteYep, only took me once when I made a raised panel using a marking guage. iirc, that panel ended up a little thinner than I had intended...
Great work on the chair. And thanks for documenting it. That way I can enjoy without the doing [g].
Take care, Mike
Really coming on, Alf!
ReplyDeleteYou sure this is the "mock-up" ;)
Keep up the good work,
Phil
Mike, get a mallet a pound your bench top for a couple of hours and you'll feel just like you're really making it too... ;~)
ReplyDeletePhil, if I make no cock-up with this mock-up it may well be a wrap-up!
It certainly looks big enough to seat his lordship! Looking good Al!
ReplyDeleteMmm, he might need a cusion for his skinny behind :~)
ReplyDelete